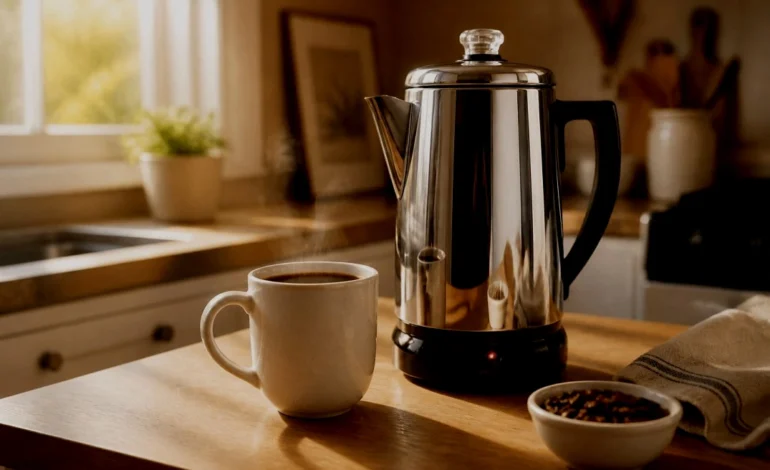
I bought my first electric percolator at a yard sale for four dollars. The seller told me it made “the best coffee on the block.” I got it home, filled it up, and made the worst cup of coffee of my life. It was bitter. It was muddy.
I almost threw the pot in the trash. Instead, I decided to figure out what I did wrong. Seven mornings later, I made a cup so good that I put my drip coffee maker in the cabinet.
That is what this guide is for. If you just bought an electric percolator, or you found one in your parents’ garage, or you are simply curious about the old-school way of making coffee, you are in the right place.
I will show you exactly how to make coffee in an electric percolator, step by step. I will tell you the right amount of coffee, how long to let it perk, and the small mistakes that turn a great pot into a bitter one. Everything here was tested at home, in a normal kitchen, with coffee you can buy at any grocery store.
Quick Answer
How to make coffee in an electric percolator: Fill the pot with cold water up to the level you want. Put medium-coarse coffee grounds in the basket — about 1 level tablespoon per cup. Set the basket and stem in place, close the lid, and plug it in. Let it perk for 7 to 10 minutes, then unplug it. Take the basket out right away so the coffee stops brewing, put the lid back on, and pour. Total time: about 12 to 15 minutes.
Why the Electric Percolator Is Worth Your Time
Most people today use a drip coffee maker or a pod machine. So why would anyone go back to a percolator?
Here is my honest answer: the percolator makes a fuller, richer cup, and it is almost impossible to break.
A drip machine sprays hot water over coffee once and lets it go. A percolator does something different. It keeps pushing hot water up through the grounds again and again, so the water and the coffee spend more time together. That is why the taste feels rounder and deeper, closer to the coffee your grandparents drank.
There is another reason I love mine. It has no paper filters, no plastic pods, and no tiny parts that snap if you look at them wrong. It is a pot, a basket, and a cord. Mine has been dropped, filled, emptied, and washed hundreds of times, and it still works like the day I bought it.
If you camp, tailgate, or lose power in a storm, a percolator earns its place in your kitchen even more.
What Is an Electric Percolator and How Does It Work?
An electric percolator is a plug-in coffee pot with a built-in heating element in the base. It brews coffee by moving hot water in a loop, over and over, until the coffee is as strong as you want it.
Here is the simple version of what happens inside:
- You pour cold water into the pot.
- You add coffee to a metal basket that sits near the top.
- A hollow stem tube runs from the bottom of the pot up through the basket.
- The base heats the water until it starts to boil.
- Boiling pushes hot water up the stem tube. The water spills over the top and rains down through the coffee grounds.
- The water drains back into the bottom, heats up again, and goes back up the tube.
That rising and falling is called perking. It is the sound that gives the percolator its name. When you hear that soft, steady bubbling, you know the coffee is brewing.
Most electric percolators perk a full cycle every 60 seconds or so. That is why time matters so much. Every extra minute the coffee keeps cycling makes the cup stronger and, past a point, more bitter.
What You Need Before You Start
This is my favorite part of percolator coffee. You do not need much.
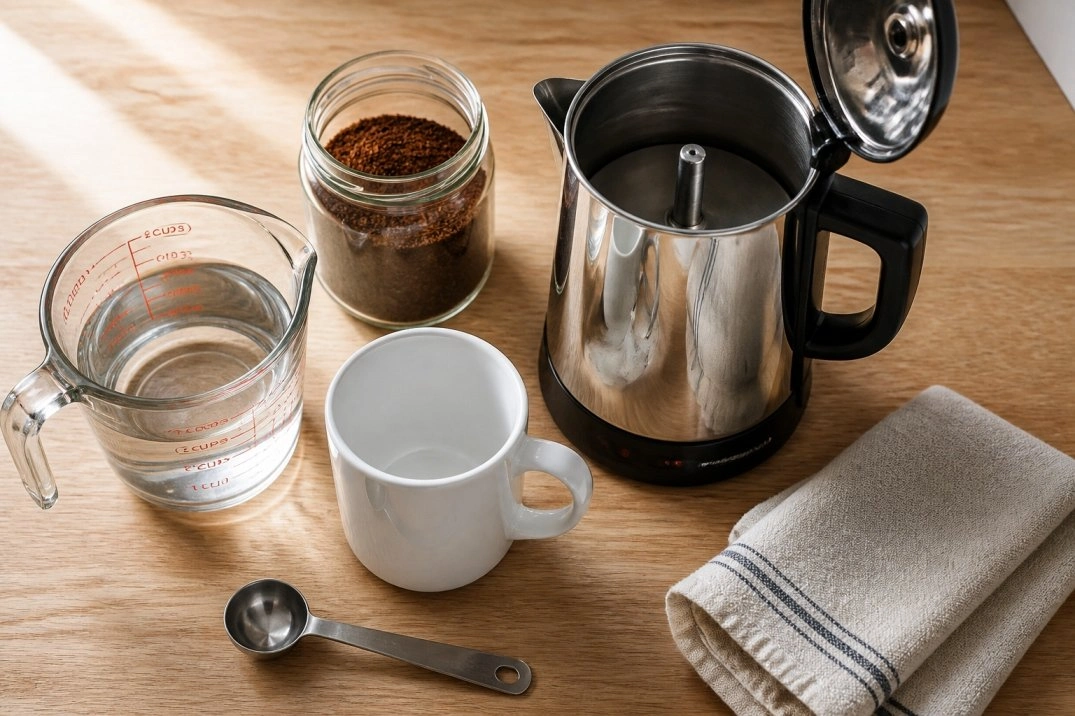
- An electric percolator. Any size works. A 6-cup pot is perfect for one or two people.
- Medium-coarse coffee grounds. Not espresso fine, not sand fine. Think of the texture of table salt or a little rougher.
- Cold water. Filtered water is best if your tap water tastes odd. Coffee is 98 percent water, so the water matters.
- A measuring spoon. A regular tablespoon is all you need.
- A mug or two. Any mug you already own.
- A small bowl or plate. This is for the wet basket after brewing, so it does not drip on your counter.
Ingredients at a glance:
| Item | Amount for 6 cups (48 oz) | Amount for 3 cups (24 oz) |
| Cold water | 6 cups (48 oz) | 3 cups (24 oz) |
| Medium-coarse coffee | 6 level tablespoons | 3 level tablespoons |
| A pinch of salt (optional) | 1 small pinch | 1 tiny pinch |
| Milk or sweetener | To taste | To taste |
How Much Coffee Should You Use?
This is the question I get asked the most, and it is where most people either ruin the pot or make it too weak.
The old rule for percolators is one level tablespoon of coffee for every cup of water. But here is the catch: a “cup” on a coffee pot is only 6 ounces, not the 8 ounces in your favorite mug.
That means if you drink big mugs like I do, you will want a little extra coffee.
| Water in the pot | Coffee grounds | Strength |
| 6 cups (36 oz) | 5 tablespoons | Mild |
| 6 cups (36 oz) | 6 tablespoons | Medium (my favorite) |
| 6 cups (36 oz) | 7 to 8 tablespoons | Strong |
| 3 cups (18 oz) | 3 tablespoons | Medium |
| 12 cups (72 oz) | 11 to 12 tablespoons | Medium |
Start in the middle and adjust next time. Coffee is personal, and two mornings of small changes will teach you more than any chart.
One more tip: do not pack the grounds down. Scoop them in and leave them loose. Tamping coffee like you would for an espresso machine will clog the basket and slow the whole brew down.
How to Make Coffee in an Electric Percolator: 7 Easy Steps
Now for the part you came here for. This is the exact method I use, and it takes about 12 to 15 minutes from start to first sip.
Step 1: Fill the Pot With Cold Water
Take the basket and stem out first, then fill the pot with cold water up to the level you want.
Use the marks on the side of the pot as your guide. Most percolators have lines for 2, 4, 6, 8, 10, and 12 cups.
Always use cold water, not warm water. Cold water gives the coffee more time to heat up slowly, and the flavor comes out cleaner.
Step 2: Add Your Coffee to the Basket
Set the stem tube into the pot, then lower the basket onto it. Scoop your coffee grounds into the basket.
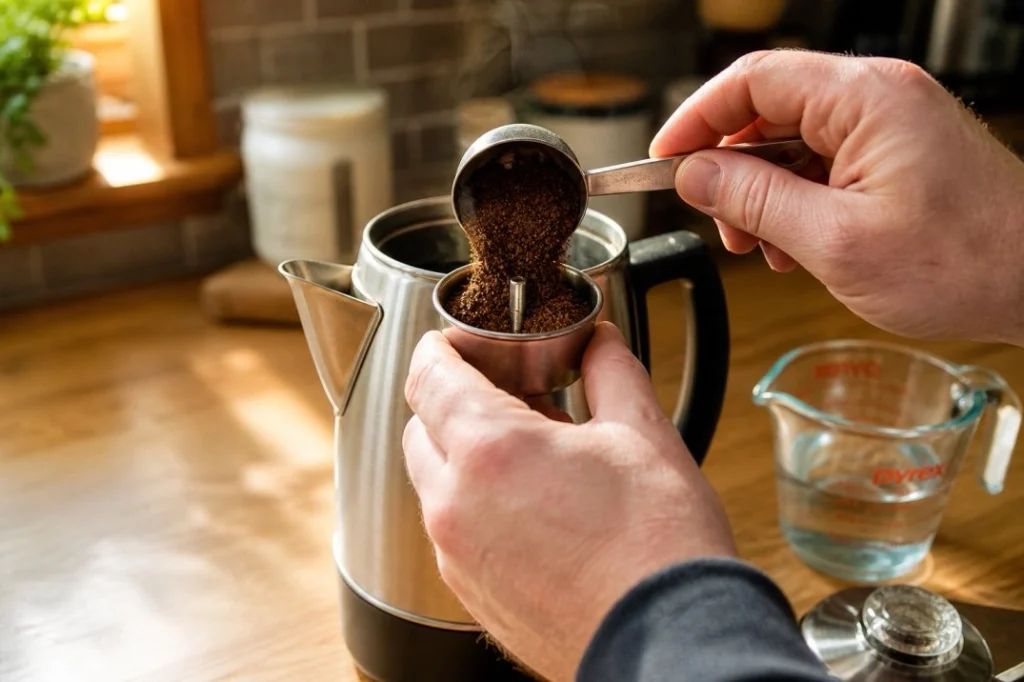
Spread the grounds into an even layer with the back of your spoon. Even grounds mean even brewing. If all your coffee sits in one lump, the water only gets to part of it.
Step 3: Put the Basket and Lid in Place
Place the basket onto the stem, then set the lid on top. Make sure the lid sits flat and the little glass knob lines up with the top of the stem.
If the lid is crooked, the water will splash instead of raining down through the coffee, and you will get a weak pot.
Step 4: Plug It In and Let It Perk
Plug in the percolator and turn it on. You will hear it start to rumble after a minute or two.
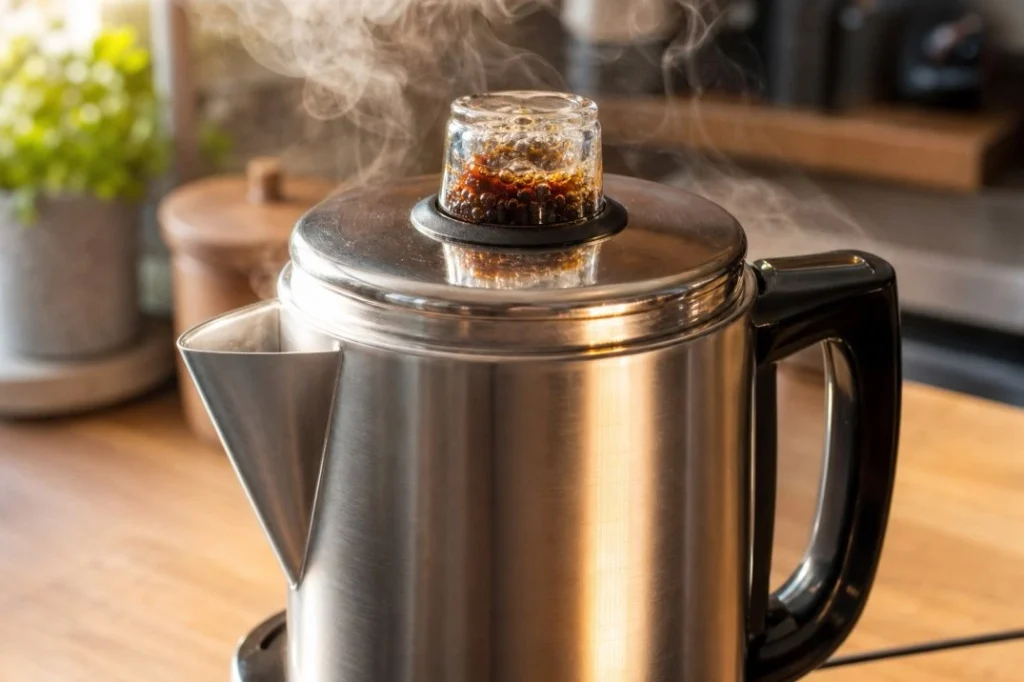
Then comes the sound you are waiting for: a slow, steady bubbling. You can watch it happen through the clear glass knob on the lid. Dark coffee will rise up and splash against the glass in a gentle rhythm.
That rhythm is your timer. If it is bubbling hard and fast, like a rolling boil, turn the heat down if your model has a control. Fast boiling cooks the coffee and makes it bitter. A calm, steady perk is what you want.
Step 5: Time It — 7 to 10 Minutes
Let the coffee perk for 7 to 10 minutes, then unplug the pot.
Here is the simple way to think about it:
- 5 minutes — light and mild, good if you drink your coffee black with lots of water on the side.
- 7 minutes — medium, balanced, and the sweet spot for most people.
- 10 minutes — strong and bold, for people who like a real kick.
- Past 10 minutes — bitter, muddy, and hard to fix.
If your percolator is small, check it earlier. A 4-cup pot perks faster than a 12-cup pot.
Step 6: Take the Basket Out Right Away
This is the step almost everyone skips, and it is the one that matters most.
Unplug the pot, carefully lift the lid, and pull out the basket and stem. Set them in a bowl or on a plate so they do not drip on the counter.
Why does this matter? Because the coffee that is already in the pot will keep steeping in the hot grounds if you leave the basket in. That is how you get a pot that tastes great for the first cup and bitter by the third. Once the basket is out, the coffee stops getting stronger. Now you are in control.
Step 7: Put the Lid Back On and Pour
Set the lid back on the pot. This keeps the coffee hot and keeps the smell in.
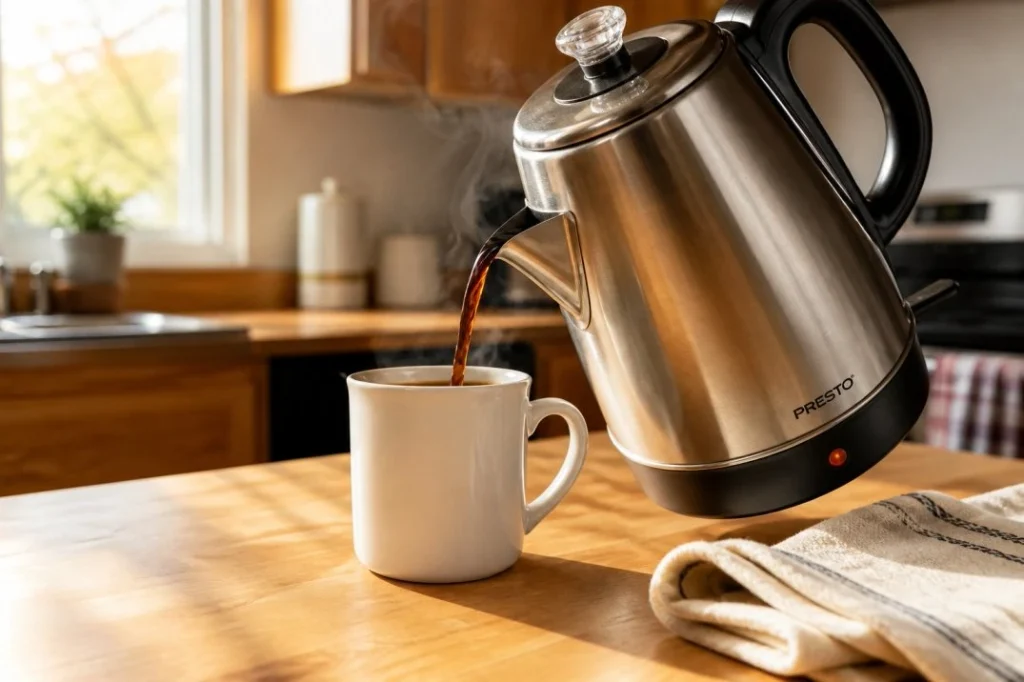
Then pour yourself a cup. Pour slowly, and if you see any grounds near the bottom, just leave the last splash in the pot. A percolator does not use a paper filter, so a little coffee dust can settle at the bottom. It is normal, and the last half inch of the pot is where it collects.
Percolator vs Drip Coffee Maker: Which One Should You Use?
I own both, and I reach for each one for different reasons. Here is an honest comparison from my own kitchen.
| Feature | Electric percolator | Drip coffee maker |
| Taste | Richer and fuller, more body | Cleaner and lighter |
| Time to brew | 12 to 15 minutes | 6 to 10 minutes |
| Filters needed | None | Paper or reusable filter |
| Best for | Big pots, camping, power outages | Fast weekday mornings |
| Cleanup | Rinse the basket and pot | Throw away the filter |
| Bitter risk | Higher if you leave it too long | Lower |
| Cost | Often cheaper | Higher up front |
My take: use the percolator when you have a few extra minutes and want a coffee that tastes like something. Use the drip machine when you are running out the door.
Why Your Percolator Coffee Tastes Bitter (and How to Fix It)
If your first pot came out harsh or muddy, do not blame the machine. Nearly every percolator problem comes from one of a few simple things. Here is what I learned from my own bad batches.
| Problem | What caused it | The fix |
| Bitter, sharp taste | Let it perk too long, or left the basket in | Stop at 7 to 10 minutes and remove the basket right away |
| Weak, watery coffee | Too little coffee, or grind too coarse | Add 1 extra tablespoon of grounds per 6 cups |
| Muddy or gritty cup | Grind too fine, or the basket overflowed | Use medium-coarse grounds and never pack them down |
| Tastes burned | Coffee sat on the hot base after brewing | Pour it into a mug or a carafe as soon as it is done |
| Flat, dull flavor | Old or stale coffee | Buy smaller bags and keep them sealed and cool |
| Coffee on the counter | Filled water past the top line | Fill only to the highest cup mark |
5 Mistakes I Made So You Do Not Have To
I made every mistake on this list. Twice. Here is what I learned.
1. I used the wrong grind. My first pot used fine grounds meant for a drip machine. The basket clogged, the water pushed grounds into the pot, and the cup was gritty. Medium-coarse is the answer. If the grounds look like fine powder, they are too fine.
2. I let it perk way too long. I walked away, came back ten minutes later, and let it keep going while I checked my phone. That pot was bitter enough to make my face hurt. Set a timer the first few times. Your taste buds will thank you.
3. I left the basket in the pot. This was my biggest mistake. The coffee kept brewing while it sat, so the last cup was always nasty. Now I pull the basket the second the pot is unplugged.
4. I re-used old coffee. Stale grounds make stale coffee, no matter how good your pot is. Buy small bags, use them up, and keep them closed.
5. I scrubbed too hard when cleaning. I went after the inside with steel wool, which scratched the finish. A soft sponge and warm soapy water are all you need.
How Long Should You Let It Perk?
This is the one number worth remembering. Most electric percolators brew best between 7 and 10 minutes.
Here is a quick guide you can tape inside your cabinet:
| You like your coffee… | Perk time | What to expect |
| Light and smooth | 5 to 6 minutes | Soft flavor, easy to drink |
| Medium and balanced | 7 to 8 minutes | The all-around best cup |
| Strong and bold | 9 to 10 minutes | Deep flavor, real punch |
| Too bitter | Over 10 minutes | Put the basket out sooner next time |
The size of your pot also matters. A small pot heats up faster, so start checking it around the 6-minute mark.
How to Keep Your Coffee Hot Without Ruining It
A percolator can keep coffee hot, but this is where people undo all their good work.
Once your coffee is done, turn the pot off. Many electric percolators have a “keep warm” setting that keeps the base hot. That is handy for a few minutes, but after twenty or thirty minutes it slowly cooks the coffee and turns a good cup into a bad one.
Here is what I do instead:
- Pour the coffee into a thermal carafe or a good insulated mug.
- If I am keeping it in the pot, I unplug it and put the lid on tight.
- I never let coffee sit on a hot base for more than 15 minutes.
How to Clean an Electric Percolator
A clean percolator makes better coffee. This is true for every coffee maker, but it matters even more here, because there is no paper filter to hide behind.
Here is my simple routine:
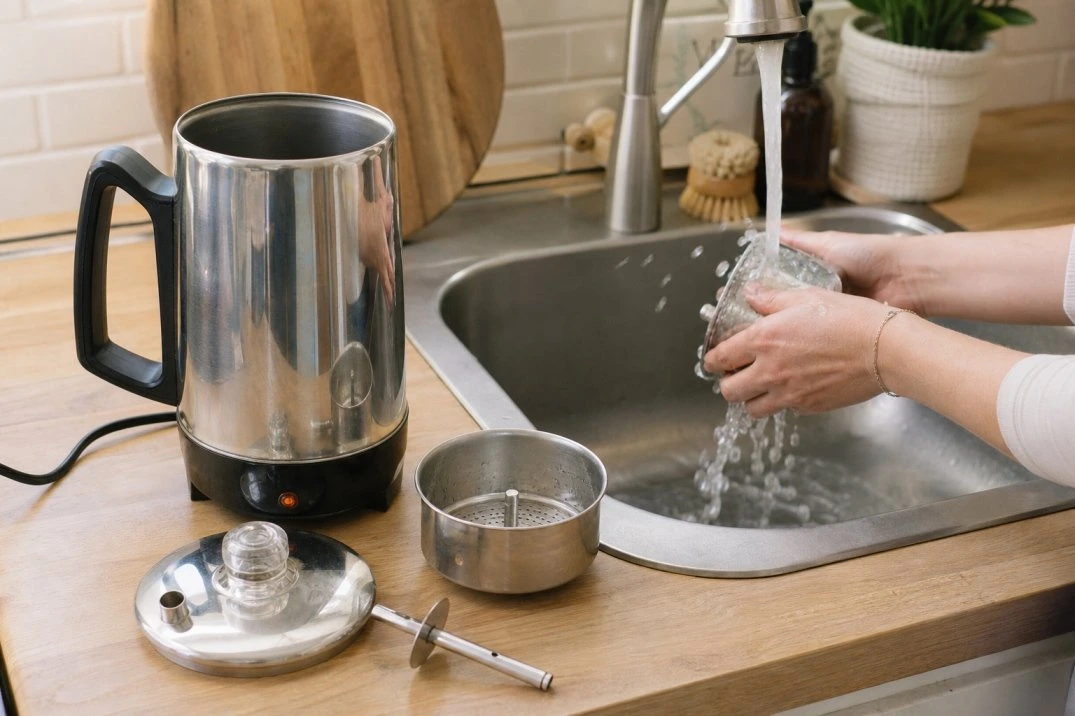
- Unplug the pot and let it cool down. Never wash a hot percolator.
- Take apart the lid, stem, and basket.
- Wash those parts and the inside of the pot with warm water and a little dish soap.
- Use a soft sponge, not steel wool, so you do not scratch the metal.
- Rinse everything well and let it air dry with the basket off.
Every month or so, I give the pot a deeper clean. I fill it with equal parts water and white vinegar, let it perk for one full cycle, then unplug it and rinse it out twice with plain water. This breaks down the dark coffee oils that build up over time, and your next pot will taste noticeably fresher.
One note: always check your own percolator’s manual before cleaning, since some models have parts that should not go in the dishwasher.
Frequently Asked Questions
Can I use regular coffee in an electric percolator?
Yes. Any regular ground coffee works. Just aim for a medium-coarse grind, which you can get by choosing the “percolator” or “coarse” setting at the store or the grinder.
How many cups does a percolator make?
It depends on the size. Common pots make 4, 6, 8, or 12 cups. Remember that percolator “cups” are about 6 ounces, so a 6-cup pot fills roughly four large mugs.
Should I use cold water or hot water?
Use cold water. It heats up gradually, which pulls a cleaner flavor out of the grounds.
Do I need a paper filter?
No. The metal basket does the job. That is one reason percolators are so easy to live with.
Why does my coffee taste weak?
Usually because there is not enough coffee, the grind is too coarse, or the pot was not filled to a high enough water line. Add a tablespoon of grounds and perk for another minute or two next time.
Can I leave coffee in the percolator?
You can, but do not leave it on a hot base. Unplug the pot, take out the basket, and put the lid on. For the best taste, drink it within an hour or move it to a thermal carafe.
Is percolator coffee stronger than drip coffee?
Yes, usually. Because the water passes through the grounds again and again, percolator coffee tends to be stronger and fuller than drip. You can control this with your perk time and how much coffee you use.
About This Guide
Who wrote this. My name is William Johnson. I am a home coffee drinker, not a barista, and I have been making coffee in my own kitchen for Several years. I write about the simple, everyday ways to make a good cup without spending a lot of money.
How we tested it. Every step in this guide was tested on my own kitchen counter, using a standard stainless steel electric percolator and coffee bought at a regular grocery store. I brewed more than a dozen pots while writing this. I tested different grind sizes, different amounts of coffee, and perk times from five minutes all the way to fifteen.
What I found. The three things that changed my coffee the most were using a medium-coarse grind, pulling the basket out the moment the pot was done, and pouring the coffee off the hot base. Those three simple habits took my coffee from “I might pour this out” to “I would pay for this at a cafe.”
How to use this guide. Start with the amounts in the charts, perk for 7 minutes, and then adjust one thing at a time. Coffee is personal, and the perfect pot for you is the one that tastes right in your own mug.
Must Read : How to Boil Coffee on the Stove

My Name is William Johnson, an experienced coffee expert and writer dedicated to sharing battle-tested brewing guides. Every technique which I recommends is backed by years of personal experimentation and hands-on testing. I test every brew before I write every guide. Sharing practical, field-tested coffee guides, Coffee-Ratio & brewing techniques