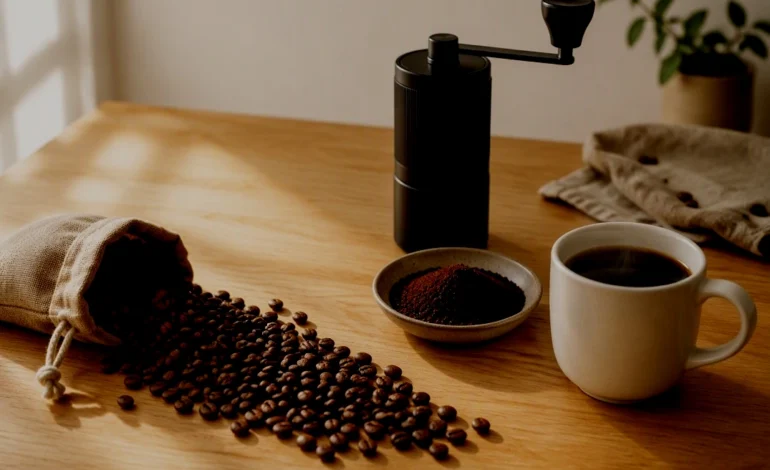
For years I bought my coffee already ground. It came in a big can from the grocery store, and it was fine. Not great, not terrible. Just fine. I did not think there was much to fix.
Then a friend brought me a bag of whole beans from a small roaster two towns over. The bag had a date stamped on it instead of the word “fresh.” When I opened it, the smell filled the whole kitchen.
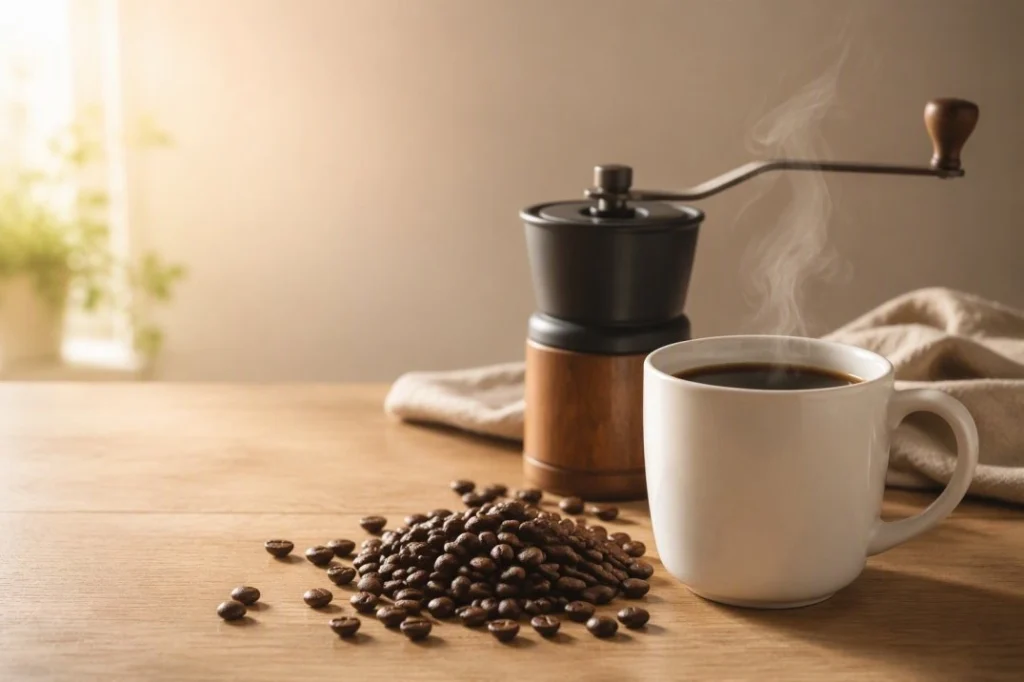
My first try at brewing those beans was a disaster. I dumped them in a cheap blade grinder and ran it until everything looked like dust. I boiled water, poured it straight over the grounds, and waited. The coffee came out bitter and sour at the same time, which I did not even know was possible.
I almost decided whole beans were a waste of money. Before I gave up, I read everything I could find and tested one change at a time. It took about a month, but I found the four things that actually matter. Once I got those right, my coffee went from “fine” to better than most of what I used to buy on the way to work. This guide is that month of testing, written in plain English.
Quick Answer:
How to brew whole bean coffee: Start with beans roasted in the last two to four weeks. Weigh about 2 tablespoons (15 grams) of beans for every 6 ounces of water. Grind them right before you brew, and match the grind to your method — coarse for French press, medium for drip and pour-over, fine for espresso.
Heat your water to 195–205°F, just off a boil. Pour a little water over the grounds first and wait 30 seconds for the “bloom,” then add the rest. Brew for 2 to 4 minutes in a pour-over, about 4 minutes in a French press, or one full cycle in a drip machine. Serve it right away. That is the whole method.
Why Whole Bean Coffee Tastes Better Than Pre-Ground?
Coffee starts losing its flavor the moment it is ground. Grinding breaks the bean into tiny pieces and opens all of it to the air at once, and the oils that carry the smell and taste start to fade right then. Whole beans keep those oils locked in much longer, so they taste good for weeks instead of days. The National Coffee Association puts it simply: buying whole beans and grinding them just before brewing is what gives you the freshest cup.
There are three more everyday reasons I made the switch.
1. You control the grind. Every brewing method wants a different grind size. A bag of pre-ground coffee gives you one size for everything, whether it suits your machine or not.
2. It smells like something. Fresh ground coffee smells sweet and warm. Ground coffee that has sat on a shelf for months smells like dust and cardboard.
3. It costs about the same. Good whole beans are not more expensive than good ground coffee, and I waste less because I grind exactly what I need.
What You Need to Brew Whole Bean Coffee
You do not need a coffee shop’s worth of gear. Here is my full list, and most of it is already in your kitchen.
- Fresh whole beans. Look for a roast date on the bag, not just a “best by” date.
- A grinder. A burr grinder is better because it grinds every bean to the same size. A blade grinder works if you are careful, and I will explain how below.
- A kitchen scale. The cheapest upgrade to your coffee. Mine cost twelve dollars. Scoops are not accurate, but grams always are.
- Filtered water. Coffee is 98 percent water, so the water matters. If your tap water smells like a swimming pool, your coffee will too.
- A kettle. Any kettle works. A thin, curved “gooseneck” spout is easier to pour slowly and evenly.
- Something to brew in. A drip machine, a pour-over cone, a French press, an AeroPress, or a jar for cold brew. Pick one and learn it well.
- A mug and a timer. Your phone timer is perfect.
4 Numbers That Matter Most
Almost every problem I had with coffee came down to one of these four things. Get them close and your coffee will already taste better than most of what you can buy.
| What | Where to aim | Why it matters |
| Coffee to water | 1 gram of coffee to 15–17 grams of water | Too little coffee and the cup tastes thin and weak. Too much and it tastes muddy. |
| Water temperature | 195–205°F, just off a boil | Water that is too hot pulls out harsh, bitter flavors. Water that is too cool leaves the coffee sour and flat. |
| Grind size | Matched to your brewing method | Fine grounds give up flavor fast. Coarse grounds give it up slowly. Match the grind to the time the water spends with the coffee. |
| Brew time | 2–4 minutes for pour-over, about 4 minutes for French press, one full cycle for drip | Too long and the coffee turns bitter. Too short and it tastes weak and sour. |
The Grind Size Chart I Keep on My Fridge
| Brewing method | Grind size | It should feel like | Brew time |
| Cold brew | Extra coarse | Peppercorns | 12–18 hours |
| French press | Coarse | Coarse sea salt | About 4 minutes |
| Drip machine | Medium | Kosher salt | One full cycle, about 5 minutes |
| Pour-over | Medium | Kosher salt | 2–4 minutes |
| AeroPress | Medium-fine | Fine sand | 1–2 minutes |
| Espresso | Fine | Table salt | 20–30 seconds |
Here is the rule behind the chart: the longer the water touches the coffee, the coarser the grind should be. Espresso brews in half a minute, so the grounds are almost powder. Cold brew sits for half a day, so the grounds are big and chunky.
If your coffee tastes bitter or harsh, grind a little coarser next time. If it tastes flat, thin, or sour, grind a little finer. Change one thing at a time, and let your taste buds teach you.
How to Brew Whole Bean Coffee: Step by Step
This method works with any brewing tool. The pour-over and French press numbers are different, but the steps are the same.
Step 1: Check Your Beans
Look at the roast date first. Beans taste best between about two and four weeks after roasting. If the bag has no date, open it and smell. Fresh beans smell sweet and roasted. Old beans smell flat and dusty.
Step 2: Boil Your Water, Then Let It Rest
Bring your kettle to a full boil, then turn the heat off and wait 30-60 seconds. That short wait drops the water into the 195–205°F range. If you have a thermometer, use it the first few times so you learn how it looks and sounds.
Step 3: Weigh Your Beans
Put your mug or grinder on the scale, reset it to zero, and weigh your beans. For a standard 10-ounce mug I use 18 grams of coffee and 300 grams of water. For a full pot, use 1 gram of coffee for every 15 to 17 grams of water. Once you find the number you like, you can repeat it every single morning.
Step 4: Grind Right Before You Brew
Grind the beans right before the water hits them. Those two minutes matter more than most people think, because ground coffee is losing its smell the whole time it sits.
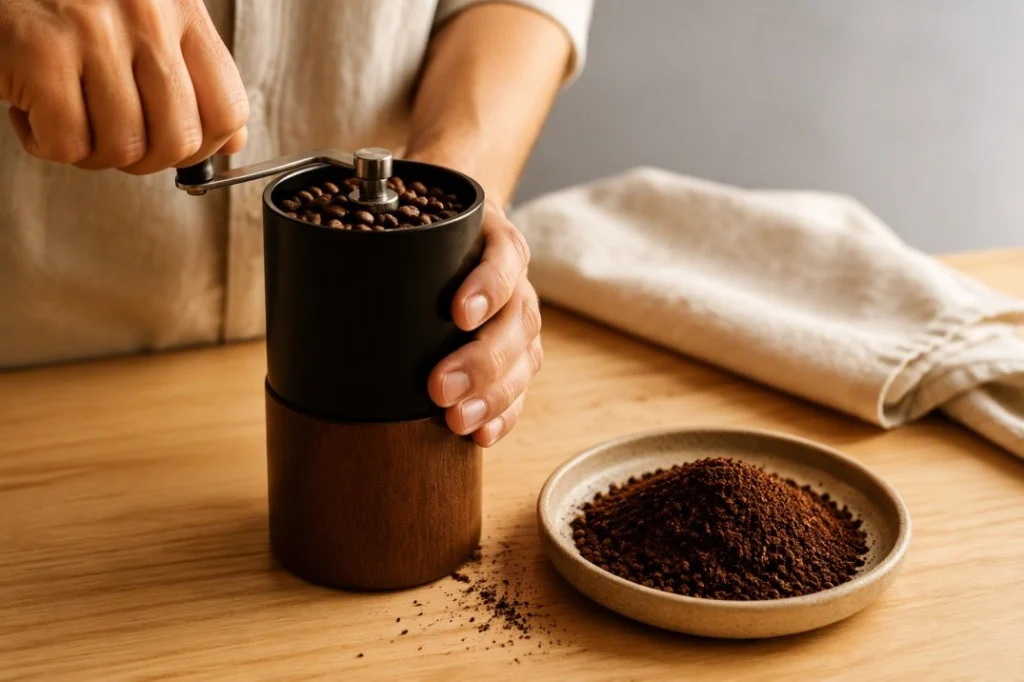
If you use a blade grinder, do not hold the button down. Press it in short bursts of two or three seconds and shake the grinder between bursts. You will still get some powder and some chunks, but the grind comes out far more even than a long continuous buzz.
Step 5: Warm Your Cup and Rinse Your Filter
Pour a little hot water into your mug and let it sit while you work, because hot coffee in a cold mug loses heat fast. If you use a paper filter, rinse it with hot water first and dump that water out.
Step 6: Pour a Little Water First, Then Wait
This is my favorite part. Pour just enough water over the grounds to wet them, about twice the weight of the coffee. You will see the coffee puff up and bubble. That is called the bloom, and it is the fresh coffee letting go of trapped gas. Wait 30 to 45 seconds. Fresh coffee blooms a lot, and coffee that barely moves has been sitting around.
Step 7: Add the Rest of the Water
Now pour the rest of your water in a slow, steady circle, starting in the middle and working outward. Slow and even is the whole trick, and it is why a gooseneck kettle helps.
Step 8: Watch the Clock, Then Drink
Let the water finish dripping through the grounds. Pour-over usually takes 2 to 4 minutes, and a French press takes about 4 minutes before you press the plunger down. Drink your coffee within twenty minutes, while the smell is at its best.
Then wash your carafe, basket, and mug with hot, soapy water. Coffee oils build up fast, and old oil is what makes a fresh pot taste bitter.
5 Easy Ways to Brew Whole Bean Coffee
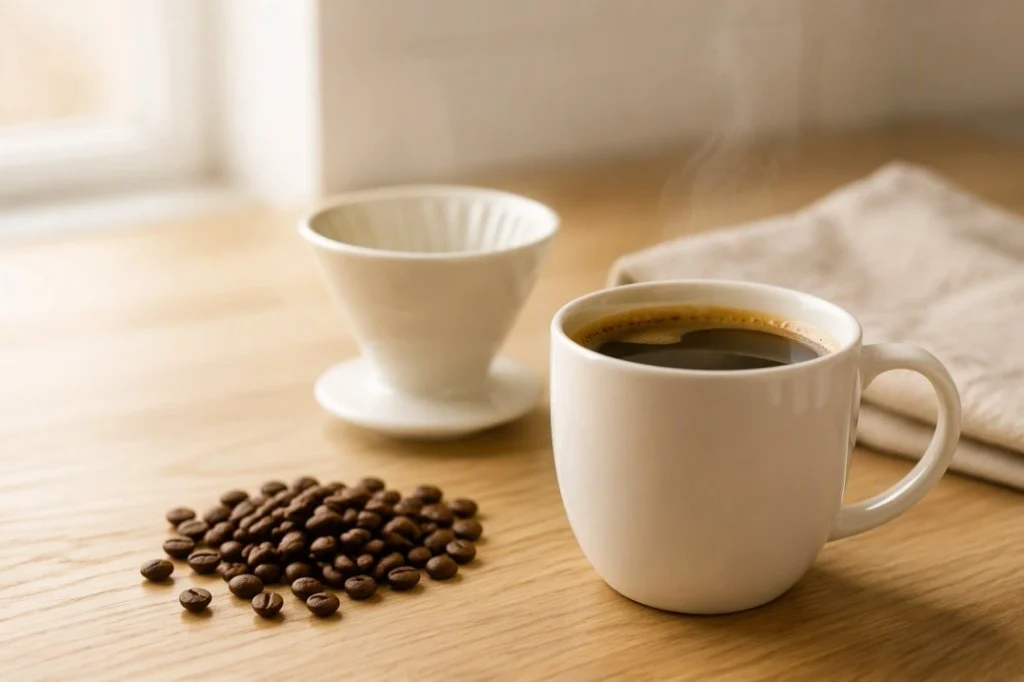
Pick one method, learn it well for a couple of weeks, then try another. I started with a drip machine and moved slowly to pour-over.
1. Drip Coffee Maker: The Easiest
Use a medium grind, the same size as kosher salt, and add 1 to 2 tablespoons of grounds for every 6 ounces of water. The National Coffee Association calls that its Golden Ratio. Press start and walk away. Drip machines are the most forgiving method, which makes them a great place to begin.
2. Pour-Over: The Cleanest Taste
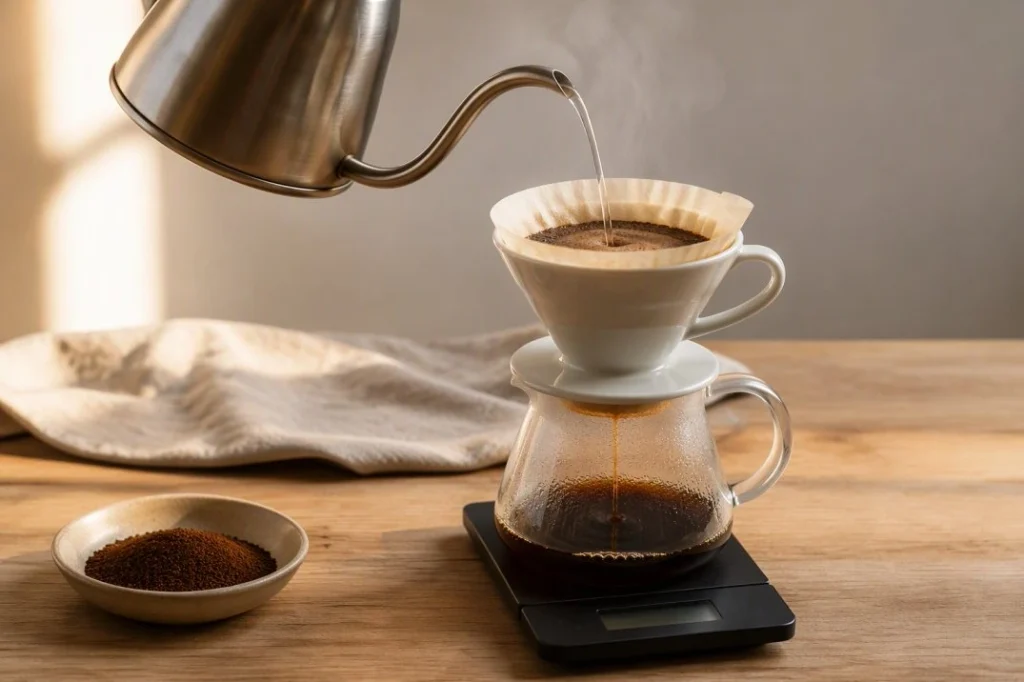
Use a medium grind and a paper filter. Rinse the filter with hot water, add your grounds, bloom with a small pour, wait 30 to 45 seconds, then pour the rest slowly in circles. Pour-over takes more attention, but it shows you most clearly what your beans taste like.
3. French Press: The Boldest Cup
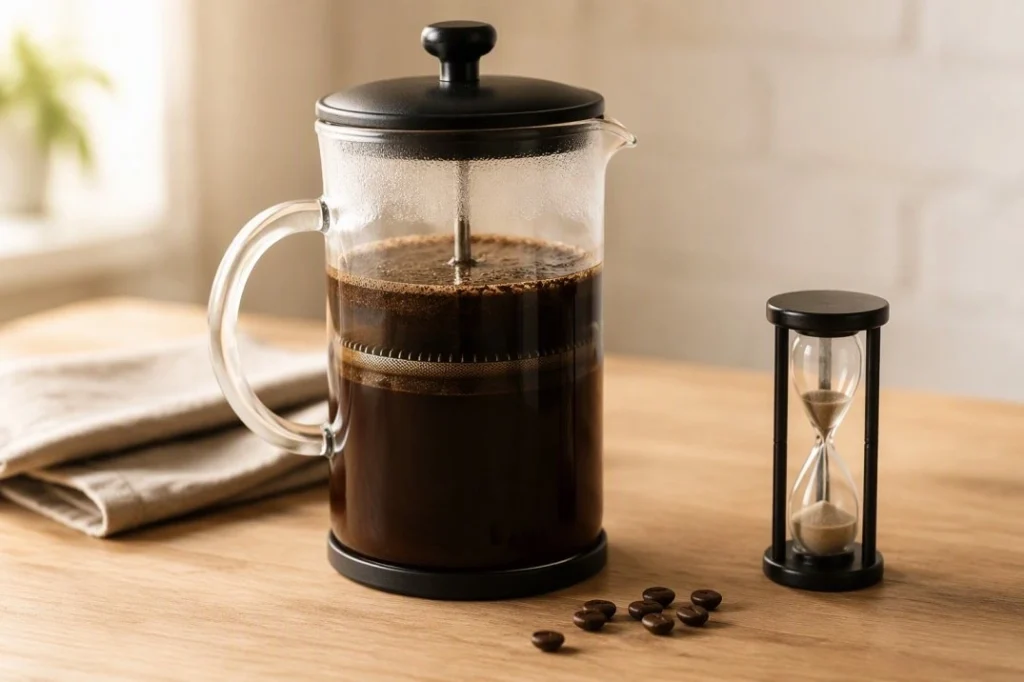
Use a coarse grind, like coarse sea salt. Add the grounds and hot water, then wait about a minute until a crust forms on top. Stir gently to break the crust, put the lid on with the plunger pulled up, and let it sit three more minutes. Press the plunger down slowly and pour right away, because coffee left in a French press keeps brewing and turns bitter.
4. AeroPress: The Fastest
Use a medium-fine grind. Add the coffee and hot water, stir for ten seconds, and press the plunger down after one to two minutes. It is quick, easy to clean, and hard to ruin — my choice on mornings when I am already late.
5. Cold Brew: The Smoothest
Use an extra coarse grind and cold water, then wait. Start with 1 part coffee to 8 parts water, leave it in the fridge for 12 to 18 hours, then strain it through a filter. Cold brew is smooth, low in acid, and keeps for several days.
| Method | Grind | Total time | Best for | Cost to start |
| Drip machine | Medium | About 5 minutes | Making a full pot | Low to medium |
| Pour-over | Medium | 2–4 minutes | Tasting one coffee clearly | Low |
| French press | Coarse | About 4 minutes | A rich, full-bodied cup | Low |
| AeroPress | Medium-fine | 1–2 minutes | One fast cup | Medium |
| Cold brew | Extra coarse | 12–18 hours | Smooth iced coffee | Low |
How to Store Whole Beans So They Stay Fresh
Good beans can go bad in your kitchen in a week if you store them wrong. I learned that the hard way by keeping my beans in a clear jar next to the window.
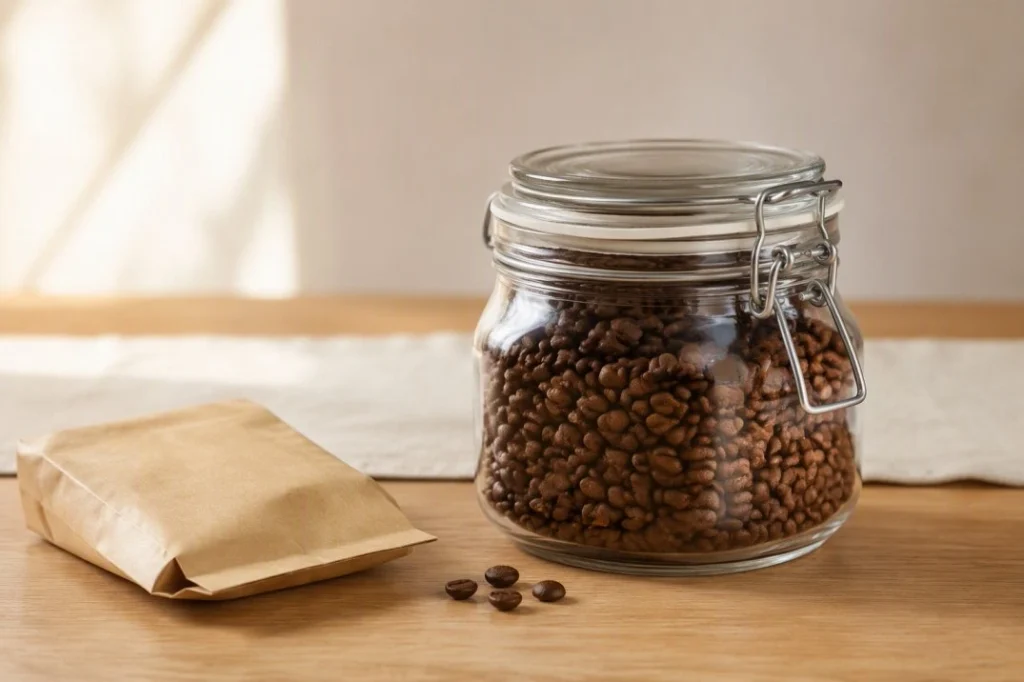
Four habits keep my beans fresh.
- Keep the air out. Store beans in an airtight container, and squeeze the extra air out of the bag before you seal it.
- Keep the light out. Light speeds up flavor loss, so a dark cabinet beats an open shelf, and an opaque container beats a clear one.
- Keep them cool and dry, but not in the fridge. The fridge is damp and full of other smells, and coffee picks up both. For a large amount, freeze the whole bag sealed and let it warm to room temperature before opening.
- Buy what you will drink in two weeks. A small bag you finish beats a big one that goes stale. If your bag has a one-way valve, keep it: it lets gas out without letting air in.
7 Mistakes I Made So You Do Not Have To
I made every mistake on this list. One of them I made twice.
1. I ground the whole bag at once. It felt efficient. It meant that by day five, my coffee already tasted flat.
2. I ran the blade grinder for a full minute. The grounds came out part powder and part gravel, and that cup was bitter and sour at once. Short bursts, not one long buzz.
3. I poured boiling water straight from the kettle. The coffee came out harsh and burnt-tasting. That thirty-second rest after the boil fixed it.
4. I used tap water that smelled like chlorine. The coffee tasted like a swimming pool with a hint of coffee in it.
5. I never weighed anything. When I finally put my scoop on a scale, “one scoop” was anywhere from 8 to 14 grams. That is why some mornings were great and some were watery.
6. I bought beans with no roast date. “Best by” tells you almost nothing. A roast date tells you everything.
7. I left my coffee on the hot plate for an hour. That burnt taste is not the beans, it is the hot plate. Pour it into a thermos if you want it to last.
How to Pick Good Whole Beans at the Store
You do not need to be an expert to buy good beans. You just need to look at a few things.
- Look for a roast date. Fresh beans are usually sold within a few weeks of roasting.
- Buy where beans move fast. A busy shop or local roaster turns over its stock, so what you get is fresher.
- Smell the bag if you can. Fresh beans smell sweet and roasted. If you smell almost nothing, walk away.
- Start with a medium roast. It is friendly, works with every brewing method, and is a good place to learn what you like.
One more thing: you do not have to chase the most expensive beans. A decent medium roast, ground fresh and brewed with good water, will beat an expensive bag that has been sitting in your cabinet since spring.
Frequently Asked Questions
Can I brew whole bean coffee without a grinder?
Yes. Ask the store to grind the beans for you, and tell them which method you use so they pick the right setting. Grind coarse if you are unsure, because you can always let it brew a little longer. Buy only about a week’s worth, since ground coffee goes stale fast.
Do I really need a burr grinder?
It is the best upgrade you can make, but it is not required to start. A burr grinder gives you even grounds, which means even flavor. A blade grinder works if you pulse it in short bursts instead of holding the button down. Start with what you have and upgrade later.
What is the best coffee-to-water ratio?
Start with 1 gram of coffee to 15 to 17 grams of water. In everyday terms, that is about 2 tablespoons of grounds for every 6 ounces of water. If it tastes weak, use more coffee. If it tastes too strong, use a little less.
Why does my coffee taste sour?
Sour usually means the coffee did not brew long enough, or the grind was too coarse, or the water was not hot enough. Try a slightly finer grind or a little more time. If it is bitter instead, do the opposite: grind coarser and shorten the brew.
Should I keep beans in the fridge or freezer?
Keep them in a dark, cool cabinet in an airtight container. The fridge is damp and full of food smells that coffee soaks up. The freezer is fine for a large amount, as long as you freeze the whole bag sealed and let it warm up before opening it.
About This Guide
How we Tested it
Every step here was tested on my own kitchen counter. I brewed whole bean coffee multiple times while writing this, using a hand burr grinder, a cheap blade grinder, a pour-over cone, a French press, an AeroPress, and an old drip machine. I weighed every batch on the same Kitchen scale, checked the water with a kitchen thermometer, and wrote down how each cup tasted. I also left beans in a clear jar by the window for two weeks on purpose. It got bad.
Why I trust this method
This is not a theory. It is what I do in my kitchen every morning, and it is what finally got me to stop buying coffee on the way to work.
How to use this guide
Start with the four numbers, because they do the heavy lifting. Then follow the step-by-step method once and taste the result. After that, pick one brewing method and practice it for a week. Trust your own taste over any chart.
Final Thoughts
Learning how to brew whole bean coffee is not complicated. Buy beans with a roast date. Weigh them. Grind them right before you brew, at the right size for your method. Use water just off the boil, about 1 gram of coffee to 15 to 17 grams of water, and give it the right amount of time. That is the entire skill, and it takes about two extra minutes each morning.
What you get back is worth far more than two minutes. The smell fills your kitchen. The first cup tastes sweet instead of flat. You stop guessing, because you know your numbers. And you stop paying for coffee that someone else made an hour before you drank it.
So buy a small bag of beans from a roaster you trust, and dig out the grinder sitting in the back of a cabinet. The first cup you make this way is the one that makes you understand why people bother.
Must Read : How Much Caffeine Is in a Single Coffee Bean?

My Name is William Johnson, an experienced coffee expert and writer dedicated to sharing battle-tested brewing guides. Every technique which I recommends is backed by years of personal experimentation and hands-on testing. I test every brew before I write every guide. Sharing practical, field-tested coffee guides, Coffee-Ratio & brewing techniques